

Fruit tartlets
The fruit tartlets are finger food pastries, delicious and colorful: a small shortcrust pastry shell filled with cream and lots of fresh fruit!
- Average
- 1 h 30 min
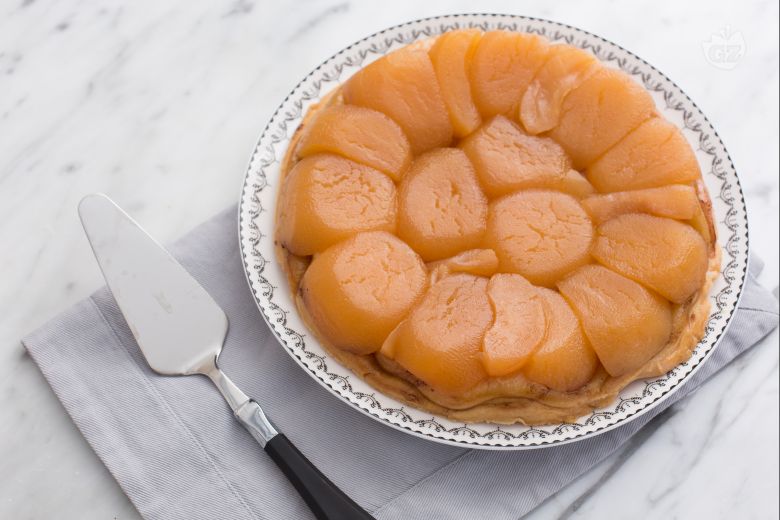
Tarte tatin is a classic apple dessert in the French tradition originally from the beginning of the century thanks to the inventiveness of sisters Carolina and Stephanie Tatin, hoteliers in Loret-Cher, France. It seems that this delicious tart arose from an error, like another famous French recipe: the ganache cream. Apparently, Stephanie, an expert cook, had to remedy her serious oversight: the room was full of patrons but she hadn't prepared her legendary apple pie that day. Without panicking, she ran into the kitchen, buttered and sprinkled sugar on a baking pan, put apples in it and baked it. But in her haste, she soon realized that she had forgotten the bottom brisée dough: so she covered the pan with just one layer of dough and put it all back in the oven. The story has a happy ending: after baking, Stephanie turned the tart over on a plate and took it to the dining room where it was literally devoured by those present. That is how tarte tatin was born. Today this magic is replicated in the kitchen of Giallozafferano thanks to the French chef of Italian origin Denny Imbroisi. Discover all the precious tips to prepare a perfect tarte tatin and you will feel transported in a very sweet French atmosphere!
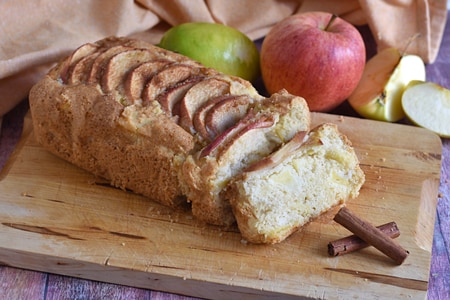
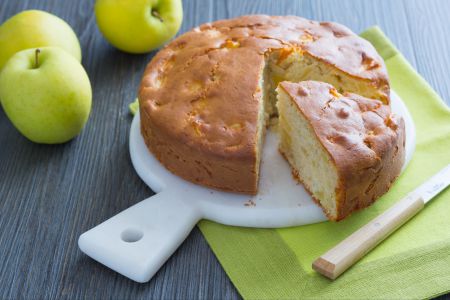
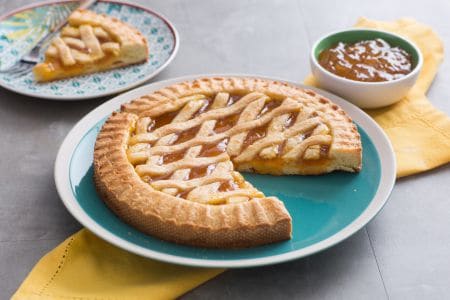
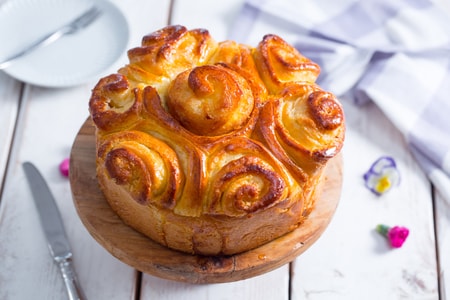
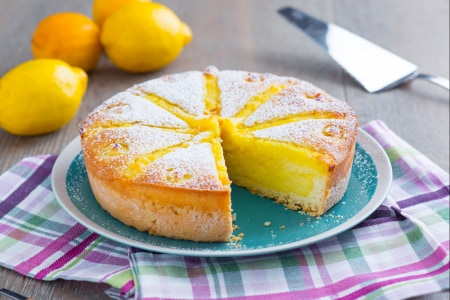
Check out these recipes too:
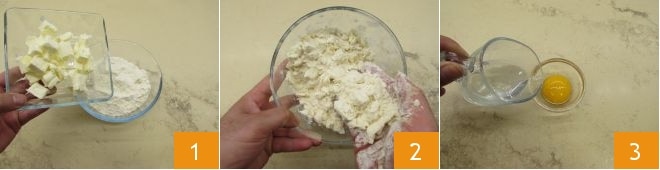
To prepare the tarte tatin first you have to make the brisée dough. Pour the flour and butter in chunks into a bowl at room temperature. Work quickly by creaming the butter and flour with your hands 2, until everything is mixed, but without heating it too much: you will have a grainy consistency 2. In another bowl pour the egg yolk, the water 3,
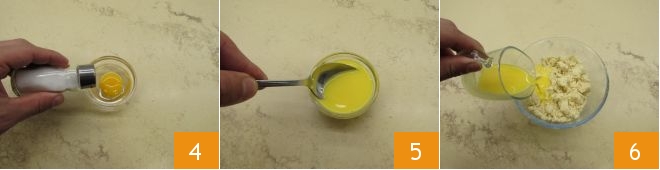
one or two pinches of salt 4 and mix everything with a spoon until the salt dissolves 5. Then pour the liquid ingredients into the midle of the bowl with the butter and flour 6,
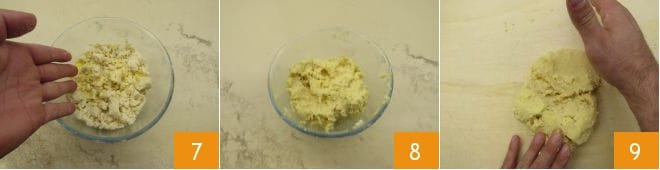
and mix quickly with your hands 7 to compact the ingredients, until the bowl is clean 8. Put the dough onto a work surface and squeeze it down 3 times with the back of your hand, stretching the dough forward on the work surface 9.

Push it back together 10 and repeat by squeezing it with the your hand 3 more times 11. Form a ball and cover it with plastic wrap 12, then set it to rest in the fridge for at least 30 minutes. Meanwhile, prepare the apples.
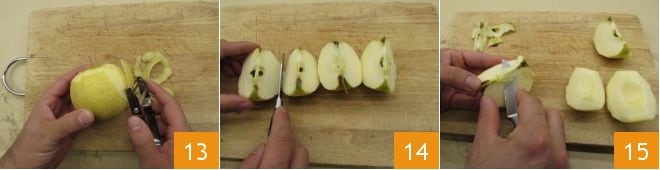
Using a potato peeler, peel them 13 and with a small knife divide them into quarters 14 and remove the core 15, setting them aside on a cutting board with the round side up. Now prepare the caramel.

Take a saucepan with a thick bottom, pour the sugar 16 and just a drop of water 17; swirl it over the heat 18 and let the sugar caramelize just by swirling the saucepan and without stirring the sugar.
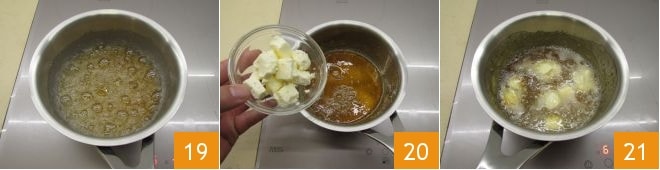
Wait about 3-5 minutes until it has completely melted and until you have obtained a hazelnut color 19. It is very important that the caramel is not white and has a nice color because it will add color to the tart. In the meantime, butter an 8 1/2" (22 cm) round pan. Once you have the hazelnut coloring, add the butter cut in small pieces into the saucepan 20 and swirl the pan again to let it melt for a few moments 21.
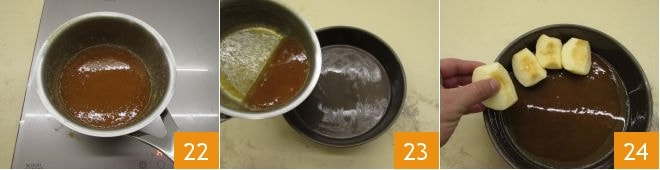
Once the butter has completely melted 22 remove the caramel from the heat, wait a few moments so that it is not extremely hot and pour it into the freshly buttered pan 23. Take the apples and place them inside the pan: the round side should be down 24.
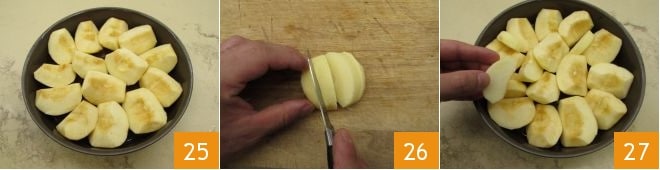
The pieces of apple must be very close to each other 25; if they are too big you can cut them into smaller ones 26in order not to leave any gaps 27.
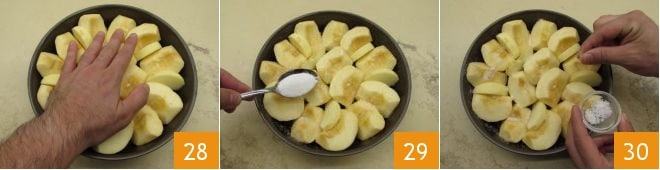
The apples should then be delicately pressed down as much as possible to cover the entire surface 28. For a better caramelization during cooking, sprinkle everything with a little additional sugar 29 and a pinch or two fo salt 30 which will both enhance the flavor.
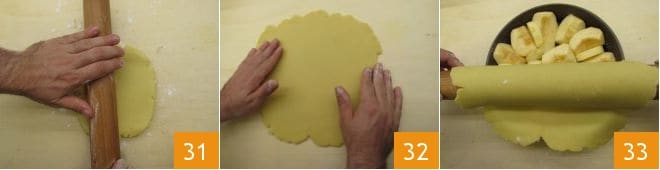
Now take the brisée dough and place it on a well-floured work surface and roll it out with a rolling pin until it is a scant 1/10" (2 mm) thick; it is important to roll out the dough by always working from the center and not the edges 31. Each time after you roll it with the pin, you have to turn the dough slightly clockwise 32 and roll it again. When it is already a little bigger, you can turn it gently to flour the other side as well and continue rolling and turning it slightly until it reaches the indicated thickness. This technique for rolling out the brisée is called 10 and 10. Now roll it around the rolling pin and unroll it over the apples 33.
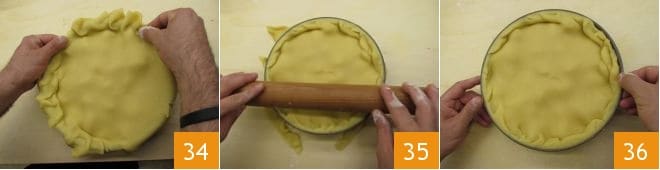
To avoid cutting away all the excess dough, fold the outside part slightly inwards so as to keep as much as possible, curling and pushing dough inwards with your thumbs 34: this will also make it thicker and give it a more solid base. Then remove the extra dough using the rolling pin 35 and pass the tip of your thumb between the inner edge of the pan and the brisée 36: this will help you to take out the tarte tatin more easily after baking. At this point, bake in a static oven preheated to 350° (180° C) for about 40-45 minutes.
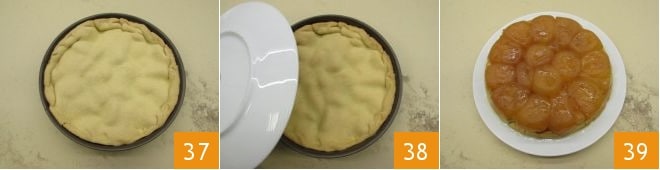
The tarte tatin must have a uniform golden color. Once baked, take it out of the oven 37 and let it cool for about 30 minutes before taking it out of the pan. Resting will help the caramel to thicken. Turn it upside down on a plate 38 and serve your tarte tatin 39!