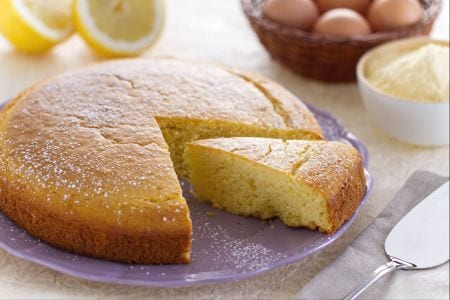
Bertolda Cake
Bertolda cake is a simple and rustic dessert made with cornmeal, which is part of the Lombard culinary tradition.
- Easy
- 55 min
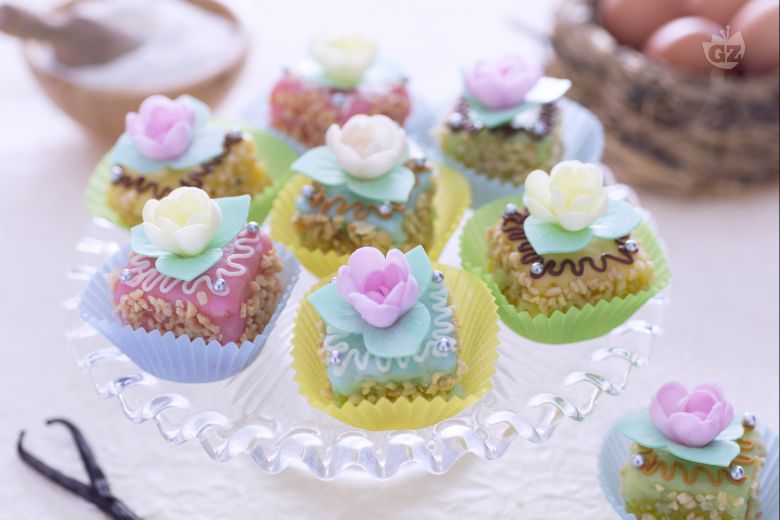
Ever find yourself torn between serving a whole cake or a dazzling array of mini cakes? Enter pasticcini di torta, the Italian magic that lets you have it all. I mean, this is genius. It's about making a single, moist cake and then transforming it into a stunning assortment of bite-sized desserts. Really, each piece has its own colorful flair, just like the elegant displays in Italian pastry shops.
Here's the thing: the beauty of this method is in its simplicity—transform one cake into a variety of unique treats by adding different toppings like fruit, chocolate, nuts, or even whipped cream. You get an impressive array without the hassle of crafting individual small pastries from scratch.
In cities like Milan and Turin, these really really good treats are a staple at dinner parties and family gatherings. And you know what? When you serve a platter of cake bites, you offer a mix of flavors and delicate decorations. Guests just love trying a bit of everything, making the occasion feel super festive. No need to be a pastry chef to master these mini desserts—just a touch of creativity with the toppings.
The inside stays tender and sweet, keeping its charm even when cut into single-serving pieces. So so good. Each piece is light, golden, and perfectly sized for a couple of bites. This approach? Ideal for impressing without the stress. It's no wonder these bite-sized desserts are a hit at Italian gatherings—they're stylish, easy, and make you look like you really know your stuff when it comes to dessert.
Whether you're hosting a casual get-together or a more formal dinner, these pasticcini di torta will surely steal the show. For real. Giving everyone a taste of Italian elegance right at home.
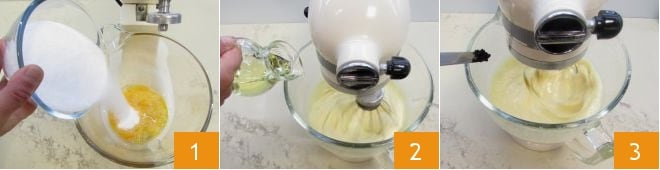
To make the cake pastries, start by preparing the sponge cake base: in a bowl, pour the eggs, sugar 1, and a pinch of salt. Beat them for about 20 minutes with an electric mixer, then add the oil 2, water, and continue to work the ingredients with the electric beaters. Split the vanilla pod and extract the seeds to add to the mixture 3.

In a small bowl, sift the flour, potato starch, and baking powder; incorporate them into the batter one spoonful at a time 4 and continue to mix with the beaters to blend all the ingredients. Transfer the obtained batter into a greased and floured square cake pan measuring 10 inches on each side 5 and bake in a preheated static oven for about 25 minutes at 350°F (or at 320°F for 15 minutes if using a convection oven). Once baked, remove the cake from the oven and let it cool down 6.

Meanwhile, prepare the custard: take the vanilla pod, cut it with a small knife 7, and extract the seeds by scraping it, place a large saucepan with milk and cream on the stove (you can omit the cream and use 100 ml of fresh milk instead); add the seeds and vanilla pod to the milk and cream 8. Turn on the stove on low heat, and when the mixture is close to boiling, turn off the heat and let the vanilla infuse for at least 5 minutes. In the meantime, continue with the preparation by separating the egg whites from the yolks; place the yolks in a large bowl and add the sugar 9.
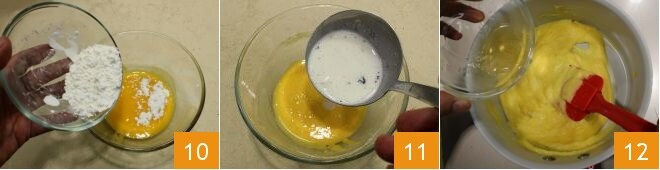
Beat the yolks and sugar with an electric mixer or a hand whisk to obtain a smooth cream. When they are pale and frothy, add the cornstarch 10. Remove the vanilla pod from the heated milk and cream and combine it with the egg mixture 11. In a bowl, soften the gelatin sheets in cold water for at least 10 minutes; then turn the low heat back on and continuously whisk to thicken the mixture. When the cream is thick, turn off the heat and pour in the well-squeezed gelatin, stirring to dissolve completely.
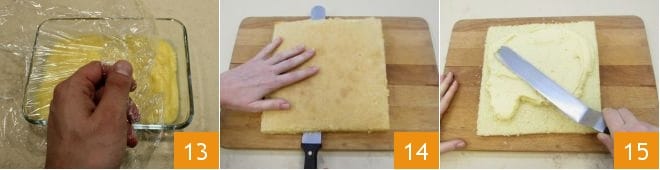
Pour it into a wide and shallow bowl; cover immediately with cling film in contact 13 and let it cool at room temperature, then place it in the fridge. Take the sponge cake and cut it in half 14, fill one half with the chilled custard 15,
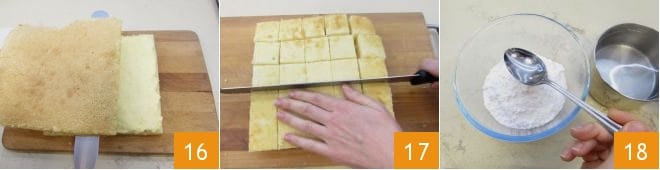
close with the other half 16 and let it set in the refrigerator for about 1 hour. Then take the cake and divide it into 25 equal cubes of about 2 inches 17, keep them in the fridge and start preparing the glaze: sift the powdered sugar 22 and place it in a bowl, add the hot water 18 and mix to obtain a smooth glaze.

Divide the glaze into 4 bowls: color one with red food coloring, adding a little at a time until you get a pink tint 19, then place 6 pastries on a rack with a plate underneath and pour the glaze over to cover them completely 20. Color the second bowl of glaze with yellow food coloring and pour it over another 6 pastries. Use yellow and blue coloring to get a pastel green tint, cover another 6 pastries 21 and let them dry.
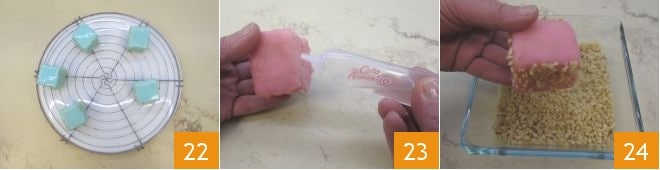
Finally, color the last bowl of glaze with blue food coloring to get a light blue tint and pour it over the remaining 7 pastries 22. When the glaze is dry, take the edible glue and apply it to the edge of the pastries 23, then pour the chopped hazelnuts in a bowl and roll the pastries in it to adhere the nuts to the edge where you applied the edible glue 24.
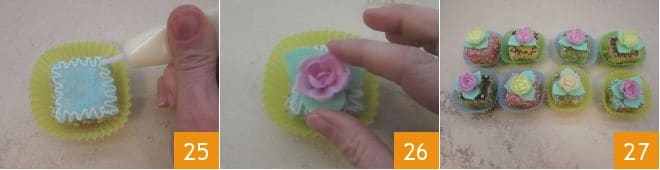
As you cover all the pastries with the nuts, place them in a paper cup. Take the edible pencils and the chocolate caramel pencils, draw a pattern on each pastry 25, then apply the soft pearls, and finally, add a small wafer flower in the center of each pastry 26. The cake pastries are ready to be enjoyed 27.