
Hazelnut Crunch Basket
The hazelnut crunch basket is an alternative spoon dessert: you enjoy the diplomat cream and the chocolate inside, but also their container!
- Average
- 60 min
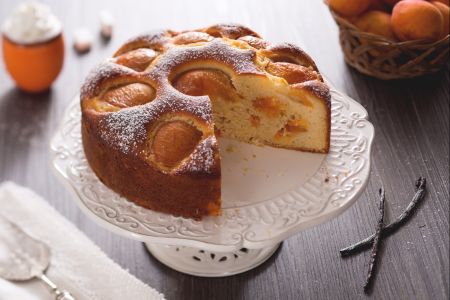
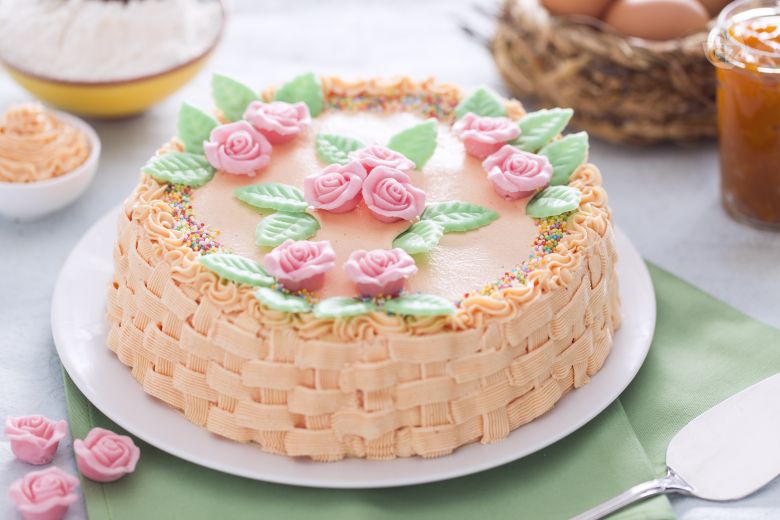
The torta cestino is this really really stunning Italian basket cake. Seriously, it's perfect for any special occasion. And you know what? With its eye-catching woven design and awesome toppings, this cake is all about creativity and flavor. Start with a light pan di Spagna, layer it with tangy apricot jam, and top it off with colorful buttercream—piped to mimic a real basket. It's a classic in Italian baking, which is great for big family gatherings and festive events. The decorations—like colorful sugar pearls and delicate wafer flowers—are so pretty, you might not want to eat it. Even though it looks intricate, you can totally create this masterpiece at home with a bit of patience. For real.
In Italy, celebrations are all about impressive dishes, and the torta cestino recipe fits perfectly into this vibe. You can really have fun experimenting with the fillings—add extra jam for a zesty kick or try different buttercream shades to enhance the basket effect. Thing is, you don’t need to be a pro baker to get a stunning result; it’s about enjoying the process. Cutting into the cake shows off the crisp edges of the basket weave next to the soft and moist cake layers—a combo that’ll wow your guests. They'll be amazed at how you’ve pulled off such a classic Italian cake at home. I mean, it’s satisfying to see their faces when you reveal how simple it actually is. For anyone who loves Italian dessert recipes with artistic flair, this basket cake is a real standout. Its woven look and colorful decorations make it a treat for both the eyes and taste buds. Can't go wrong.
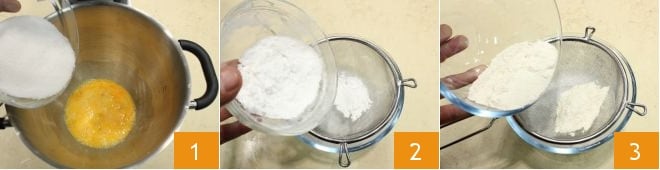
To prepare the basket cake, start with the sponge cake: in the bowl of a stand mixer, pour in the room temperature eggs; add the sugar 1 and start whisking: they should become frothy. Then, in a separate small bowl, sift the flour 2 and potato starch 3.
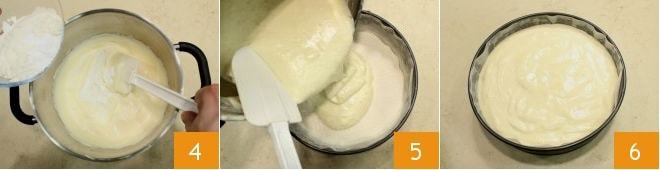
Then add the powders to the well-whipped egg and sugar mixture 4 and mix with a spatula to combine them. Butter and line with parchment paper a 9-inch diameter cake pan and pour the batter inside 5. Once finished and leveled 6, bake in a preheated static oven at 340°F for 35 minutes (300°F for 25 minutes if using a fan oven, checking that it's done with a toothpick test before removing it from the oven).
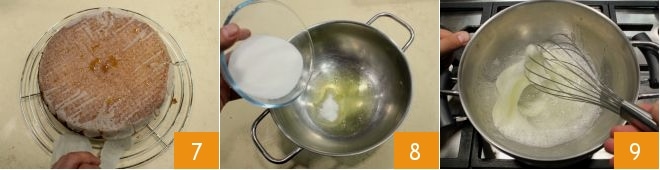
When it's cooked, remove it from the oven and let it cool slightly, then turn it out and let it cool completely on a wire rack 7. While the sponge cake cools, prepare the buttercream: in a mixing bowl, pour in the egg whites (with the yolks you could make a custard) and half the granulated sugar 8. Place everything over a double boiler to cook the egg whites: it is important that the water does not touch the bottom of the pot containing the egg whites to ensure controlled, low-temperature cooking. Stir with a hand whisk 9 and when they become frothy, remove them from the heat (you can measure the temperature with a food thermometer; it should be 149°F).

Sift the powdered sugar 10; then pour the egg whites into the bowl of a stand mixer 11, add the other half of the granulated sugar gradually 12, and the powdered sugar;
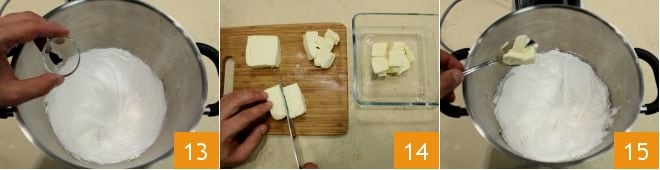
also add the vanilla bean seeds 13 and continue to work with the whisk. Replace the whisk of the stand mixer with the paddle, then cut the softened butter into pieces 14 and gradually add it to the sugar and egg white mixture and continue mixing with the stand mixer 15.
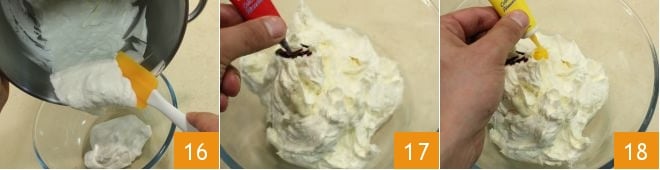
When all the butter is incorporated, transfer the cream to a bowl 16, then add the red food coloring 17 and add the yellow one 18 to achieve a bright yellow color.
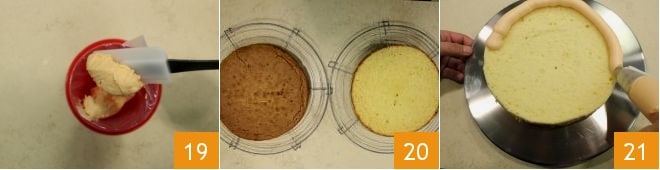
Once colored, transfer one-third of the cream to a piping bag with a plain nozzle, one-third to a piping bag with a Wilton 26 nozzle (flat and serrated), and leave one-third of the cream in the bowl. Then cut the now-cold sponge cake into two discs 20 and with the piping bag with the plain nozzle, create a border of cream on the base of the sponge cake 21.
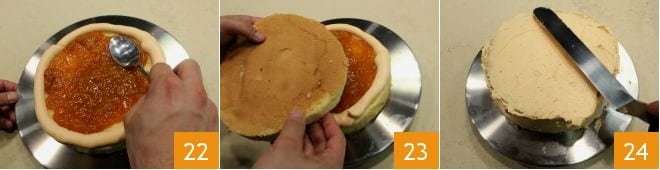
Then fill the inside with apricot jam 22 and cover with the other sponge cake disc 23. Spread the surface and the edges with the cream kept aside in the bowl 24.
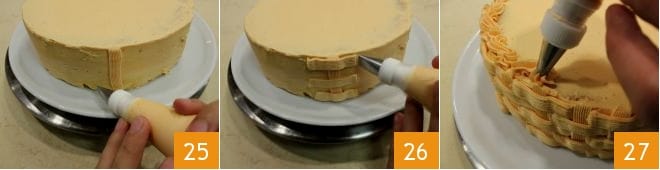
Proceed to decorate with the piping bag with a Wilton 26 nozzle: create a vertical strip, then three horizontal ones of the same length, and continue this way around the entire circumference of the cake to recreate the weave pattern of a wicker basket. Then replace the Wilton nozzle with a star one and decorate the edge of the surface 27.
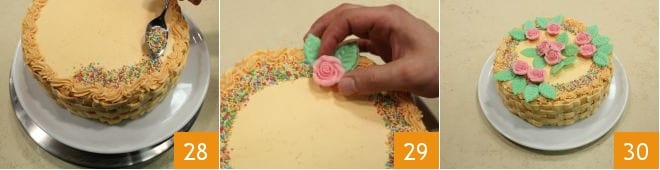
To complete the decoration, take the colored sugar balls and distribute them to create an inner border 28. Then take the sugar paste flowers: we chose small roses 29 and distribute them over the surface of the cake 30.