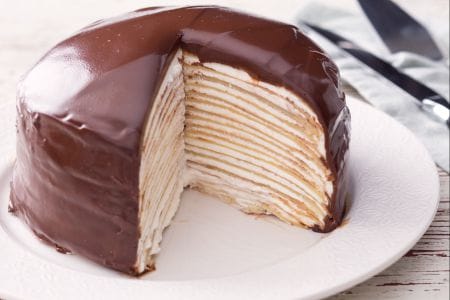
Soft tart with cream, whipped cream, and strawberries
The soft tart with cream, whipped cream, and strawberries is a refined and fresh dessert. Discover here the doses and procedure to prepare…
- Average
- 1 h 35 min
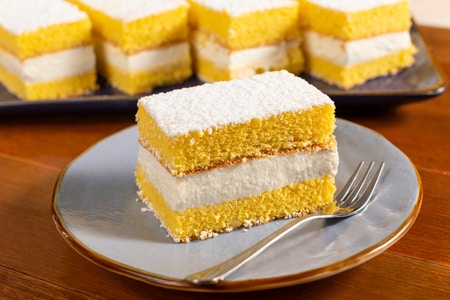
These milk cocoa sandwiches are a delicious homemade snack consisting of two soft layers of cocoa cookie dough with tasty, velvety milk cream in the middle. Making milk cocoa sandwiches at home is a fun and easy activity you can even involve the children in. Who knows, they might even get a second helping for being such good apprentice pastry chefs! A soft, sweet treat to enjoy as an afternoon snack, ideal to bring along to a party, maybe along with one of our soft, fluffy cakes. Guaranteed to drive the little (and the not so little!) ones crazy!

To make the milk cocoa sandwiches, start by preparing the milk cream, soaking the gelatin sheets in cold water for at least 10 minutes 1. Whip 1¼ cups (300 g) of light cream using a hand mixer 2. Pour the condensed milk, at room temperature, into another small bowl. Add the vanilla extract and honey and stir 3.
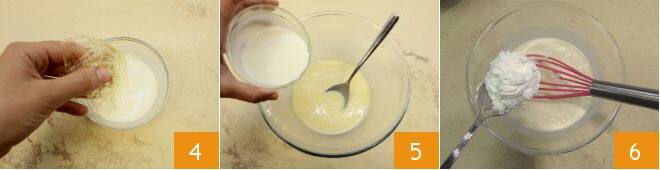
Heat the remaining ¼ cup (50 g) of cream, then carefully drain the gelatin and place it inside the cream while it is still hot 4, stirring until it has completely dissolved. Add the cream containing the gelatin to the flavored condensed milk 5 and mix for around 5 minutes. Gradually add the whipped cream to the mixture, stirring with a beater 6.
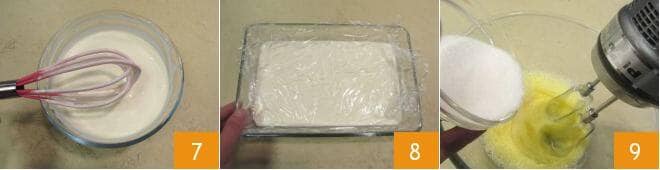
Once ready 7, transfer the cream mixture to a shallow casserole dish, cover with plastic wrap 8, and place in the refrigerator for an hour. Now move on to the cocoa cookie dough. Pour the eggs and granulated sugar into a bowl and start whipping the mixture with a hand mixer 9 (you could also use a planetary mixer).
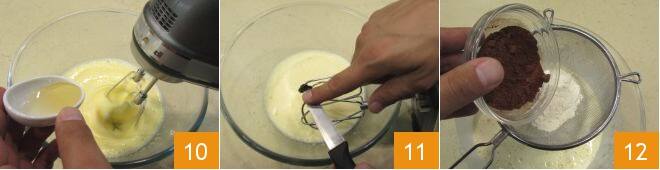
Add the honey as you mix 10, stopping only once the mixture is thoroughly combined, and add the vanilla bean seeds 11. Sift in the flour and unsweetened cocoa powder 12.
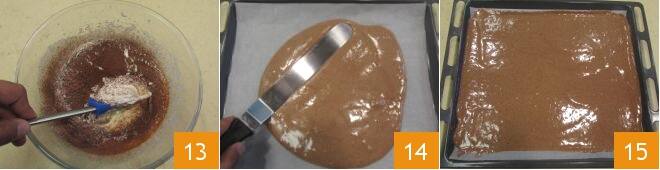
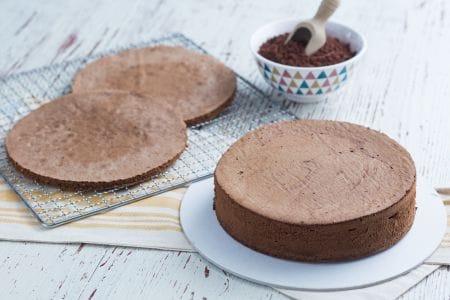
Stir gently with a spatula to blend the powders 13. Now that the dough is ready, spread it across a baking tray lined with parchment paper, using a spatula to level it out 14. Bake in a preheated oven at 425°F (220°C) for around 12 minutes 15.
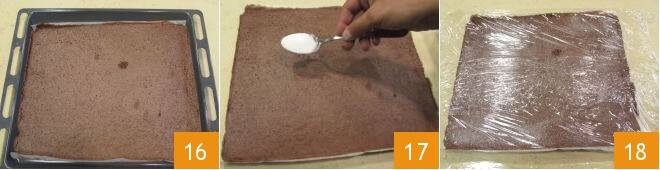
Once the base is cooked 16, sprinkle with granulated sugar 17, cover with plastic wrap and leave to rest for an hour 18.
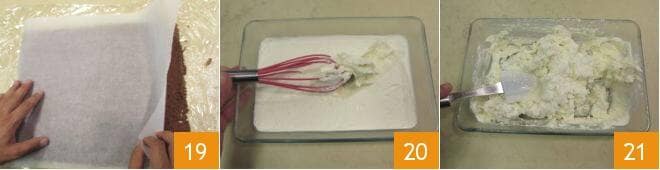
Next, turn the base upside down while still warm to very gently remove the parchment paper 19, place a new sheet of parchment paper on top and leave to cool. This process will help keep the base soft once cooled. When the cookie dough has cooled, take the cream out of the refrigerator, break it up using a beater 20 and work it to soften it 21.
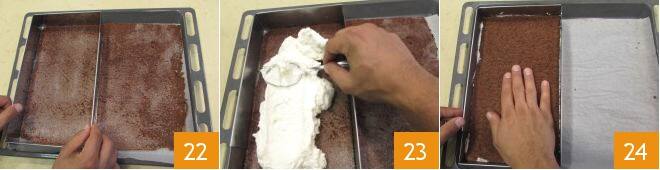
Cut the cookie dough in half 22 and trim the edges. Next, lay an adjustable cake frame over one half. Spread the cream on one half of the base 23 and then lay the other base on top, without applying any pressure 24. Cover with plastic wrap and leave to firm up in the refrigerator for an hour or so.
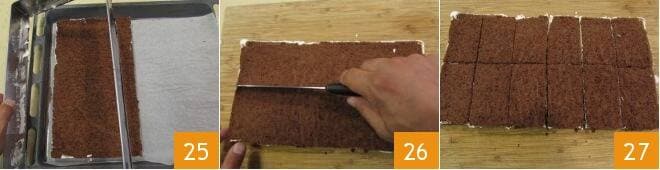
Once the cake has firmed up, remove the adjustable frame 25 and transfer the cake to a chopping board. Cut in half lengthwise 26 and then across to make slices. Your milk cocoa sandwiches are ready to be enjoyed 27!