Armenian bread
- Lactose Free
- Vegetarian
- Vegan
- Energy Kcal 482
- Carbohydrates g 48.3
- of which sugars g 1
- Protein g 11
- Fats g 27.2
- of which saturated fat g 3.95
- Fiber g 1.7
- Sodium mg 656
- Difficulty: Easy
- Prep time: 45 min
- Cook time: 4 min
- Makes: pieces
- Cost: Low
- Note plus 30 minutes of rest for each of the 3 doughs
PRESENTATION
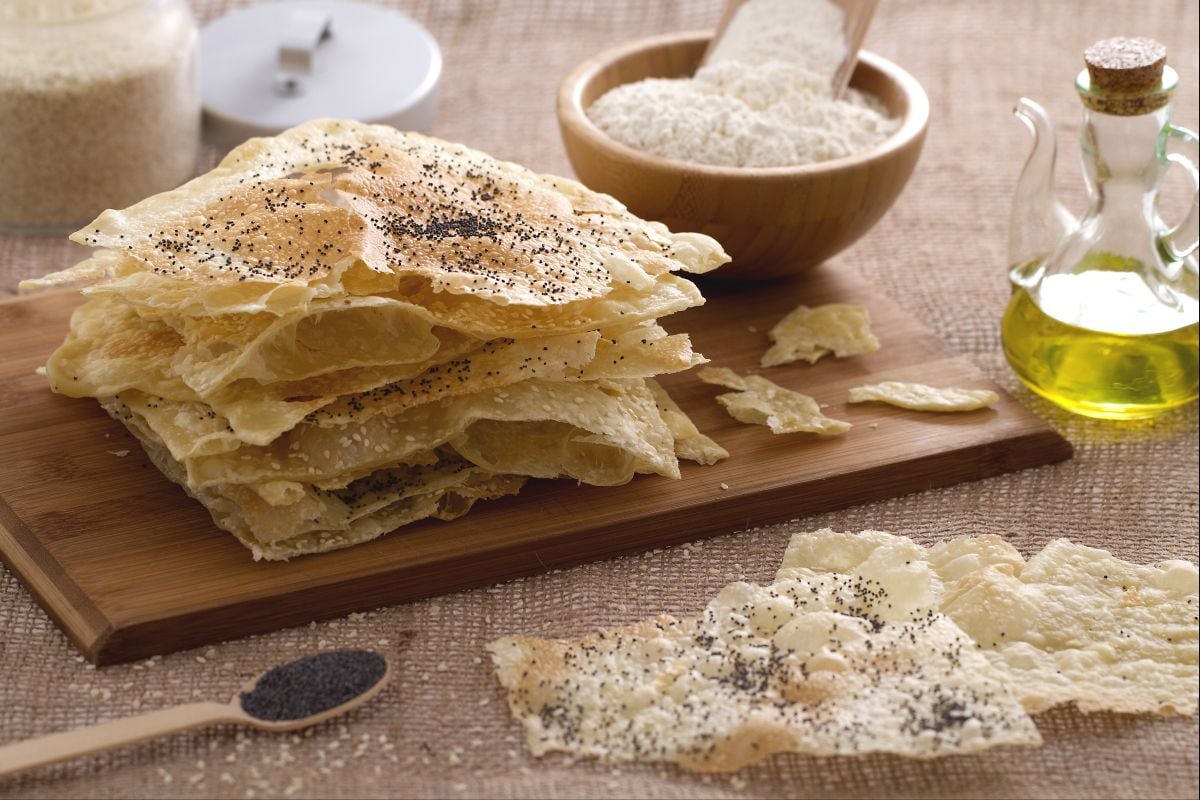
So, here's the thing about Armenian flatbread—or lavash as it's known. This stuff is really something. It's a major part of Armenian cuisine and, honestly, way more exciting than your typical bread. Made with water, salt, some strong flour like manitoba or a solid 'type 0', and a bit of oil—pretty simple, right?—this dough gets stretched super thin. Really, it bakes up crispy and almost light as air when cooked at super high temperatures for just a few minutes. Some folks love to sprinkle on sesame or poppy seeds for extra crunch and flavor. Thing is, the lavash bread recipe is awesome because you can have it hot when it's soft, or let it cool for that crackly texture—it's like snack-time heaven. This dual personality makes it a standout in Armenian cuisine and beyond.
In Armenia, lavash is often used as a wrap. And look, you fill it with veggies, cheese, or grilled meats—it's like a thin sandwich roll-up. Pretty much. You'll also find it served torn up, perfect for scooping things, or baked again with goodies like Tropea onions, cumin seeds, or paprika—seriously good party snack. The dough needs a few rests during prep to get that gluten elastic and give the bread its special tender bite when fresh. It's kinda amazing how such basic ingredients create a traditional Armenian bread that's been loved for ages.
With all the ways to enjoy it—plain, filled, or oven-baked with your faves—this bread brings a piece of Armenian bread baking right to your kitchen. It's delicate enough to pair with almost anything you're serving. Even if you're new to Armenian food, homemade lavash is a simple, golden way to explore something different. And make your meals just a bit more special. For sure.
INGREDIENTS
- Ingredients for 3 baking sheets
- Manitoba flour 1.6 cups (200 g)
- Water ½ cup (110 ml)
- Extra virgin olive oil 4 tbsp (60 g)
- Fine salt 1 tsp (5 g)
- For garnishing
- Poppy seeds to taste
- Sesame seeds to taste
How to prepare Armenian bread
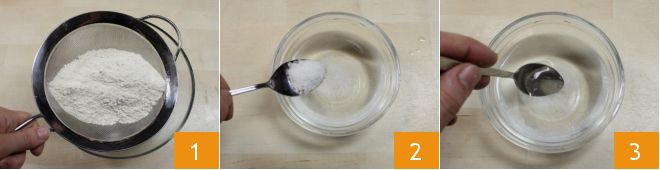
To prepare Armenian bread, start by collecting the sifted Manitoba flour with a fine-mesh sieve in a bowl 1 (instead of Manitoba flour, you can choose strong flour with at least 11% protein content, which you can read on the package). In a small bowl, pour room temperature water and add salt 2. Then stir to dissolve it completely 3.
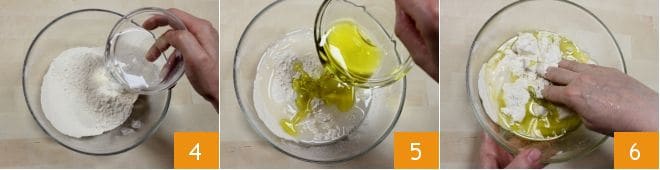
Add the water and salt to the flour 4 and then the oil 5. Start kneading the ingredients quickly with your fingertips 6.
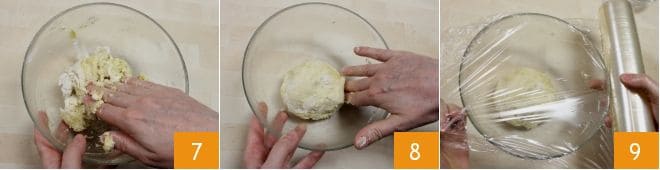
This dough doesn't need to be worked for long, so handle it for a few minutes 7 to make it homogeneous. Form a ball with the obtained dough to store it in the bowl 8 covered with plastic wrap 9. Let the dough rest for 30 minutes at room temperature.
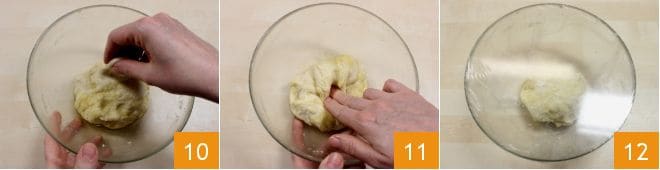
After the first half-hour, take your dough and start making the folds: gently lift the outer edges of the dough 10 and bring them towards the center 11. Perform this operation 8 times around the entire circumference of the dough. Then turn the dough upside down and create a ball; cover with plastic wrap 12 and let it rest for another 30 minutes at room temperature.
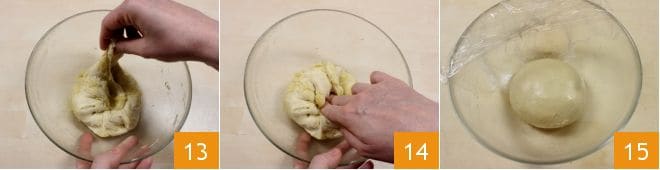
After the second half-hour, take the dough to make the 8 folds again as in the previous step: take the outer edges of the dough 13 and bring them towards the center 14, 8 times around the perimeter of the dough. Then turn the dough over again to form a ball and cover with plastic wrap 15. Let this dough rest for another 30 minutes at room temperature.
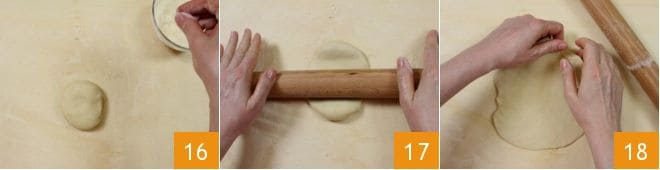
After the third half-hour, take the bowl with the dough. Turn on the oven in static mode at 428°F with the baking sheet you will use for baking the Armenian bread inside, so it is very hot when you place the dough on it. Also, prepare parchment paper: cut three sheets the same size as the baking sheet you will use. Then divide the dough into 3 parts weighing 120 grams each. Place the first portion of dough on the work surface 16 and store the rest of the dough in a bowl covered with plastic wrap at room temperature to maintain proper moisture. With a rolling pin, roll out the dough slightly to even out the thickness 17, then gently take it in your hands to continue rolling it out 18.
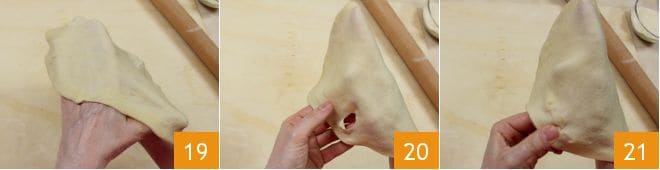
Place the dough on the back of your hands and start pulling it gently 19. To stretch it, gently spread your hands to form a thin rectangle the same size as the baking sheet. The back of the hands is used to avoid tearing the dough, which is very thin. If it does happen 20, you can join the edges 21 and continue working it.
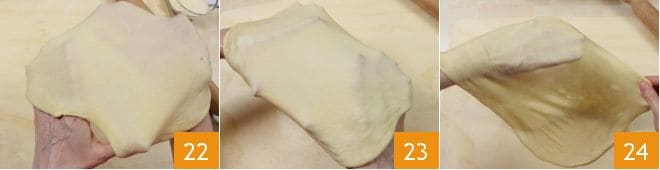
Then continue working the dough in extension (22-23), gently pulling the edges with your fingers to stretch it into a rectangular shape 24.
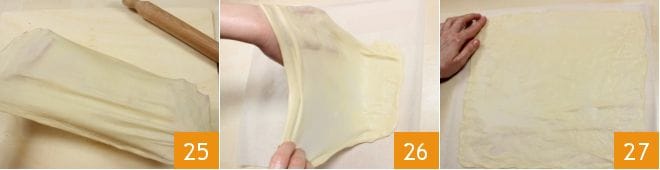
When you have reached the indicated size 25, you can lay it gently on the parchment paper 26. Press the edges outward with your fingers to flatten them and stretch the dough even better 27. If you want, you can bake the Armenian bread without seasoning.
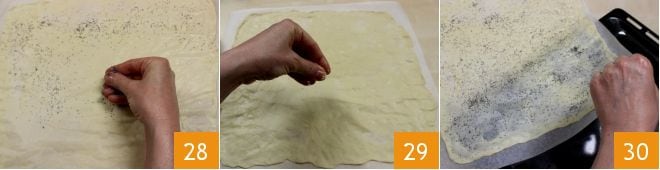
Or before baking it, you can sprinkle it with poppy seeds 28 or sesame seeds 29. Once ready, slide the parchment paper onto the very hot baking sheet 30 and bake in a preheated static oven at 428°F for 4-6 minutes depending on the thinness of the dough. You can bake the three parts of dough one at a time.
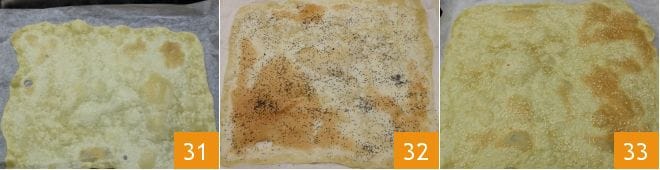
When your Armenian bread is ready, remove it from the oven on a rack without parchment paper so it doesn't become too moist. You can enjoy it in the simple version 31, with poppy seeds 32, or with sesame seeds 33, either hot or cold. Freshly made Armenian bread will have a slightly softer texture, while it will be crunchier when cold. You can serve your Armenian bread as common bread or as an appetizer. It will also be excellent as a base to fill as you like, for example, with thinly sliced red Tropea onions added before baking!